Create Varify Subscription
Table of contents
Follow these three simple steps and take out your Varify.io subscription. 🚀
Step 1: Navigate to Team Settings
Important Note: Only the account owner or an admin can purchase a subscription.
- Log in to your Varify.io account.
- Click on your profile name at the top right.
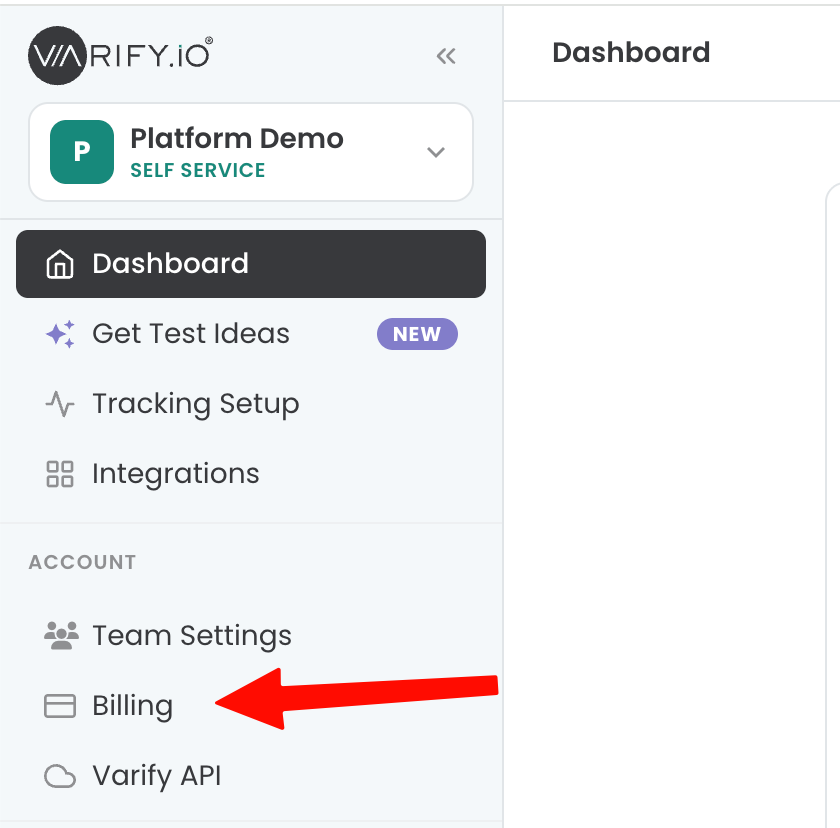
- Click „Team Settings.“.
Step 2: Add a payment method and address information
- Now go to „Billing.“.
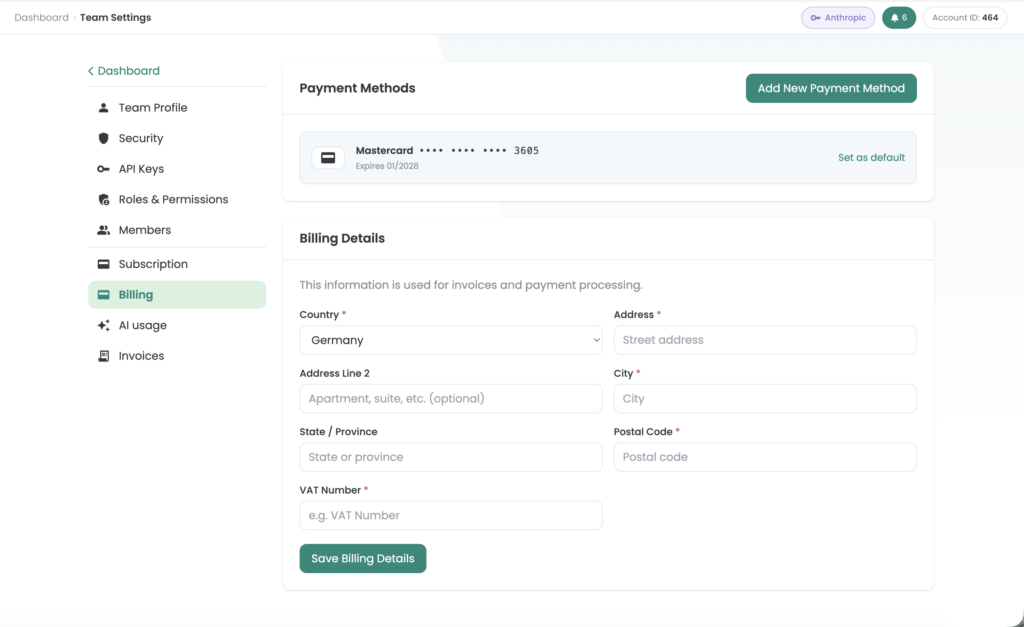
- If you are based in the EU or another country where a VAT ID is required when purchasing a company, please enter it under "Update VAT ID" and then click on "Update".
Step 3: Choose a subscription plan
- Now click on „Subscription.“.
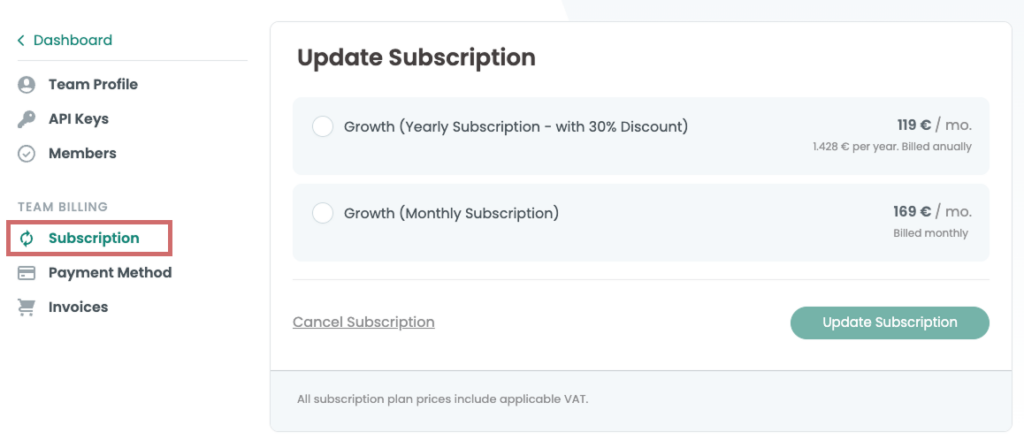
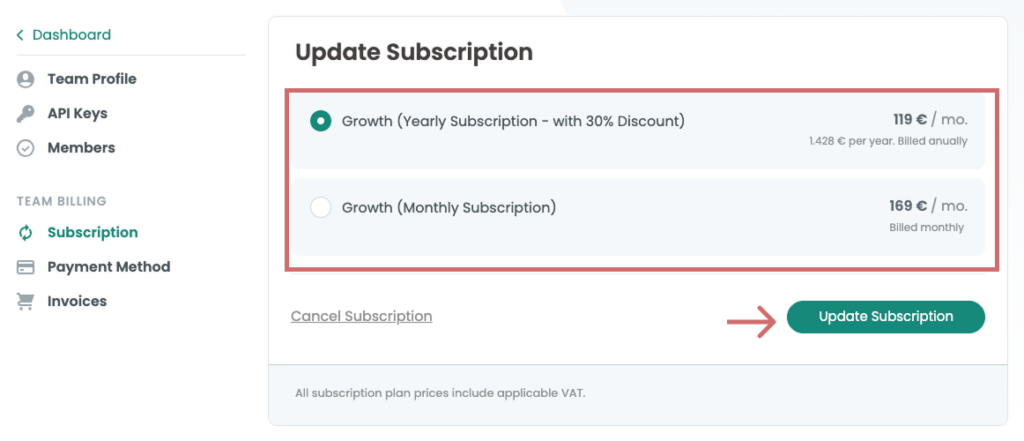
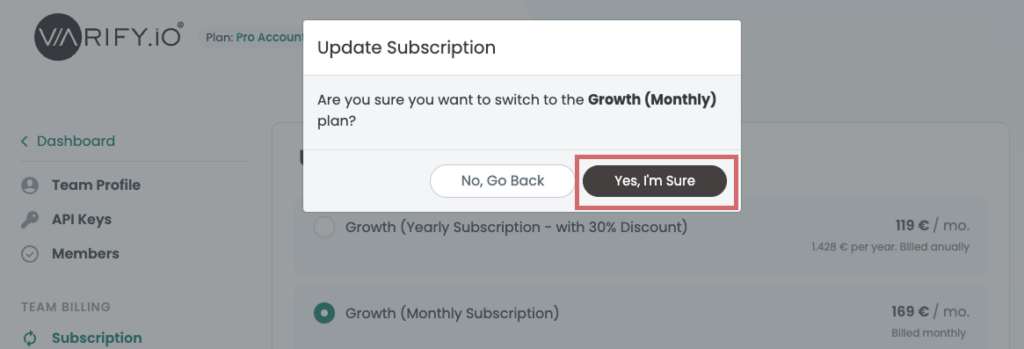
- Select the desired term for your plan („Monthly“ or „Yearly“)
- Then click „Update Subscription“
- Confirm your subscription by clicking „Yes, I’m Sure“
Problems with locking? Write to us!
If you have any difficulties completing your subscription despite following the instructions, our support team is always on hand to help - just get in touch with us!