Integrations
In short
Link Varify with additional tools to gain deeper insights from your A/B tests. For example, use heatmaps, clickmaps or screen recordings to better understand the behavior of your visitors in the test version compared to the original version.
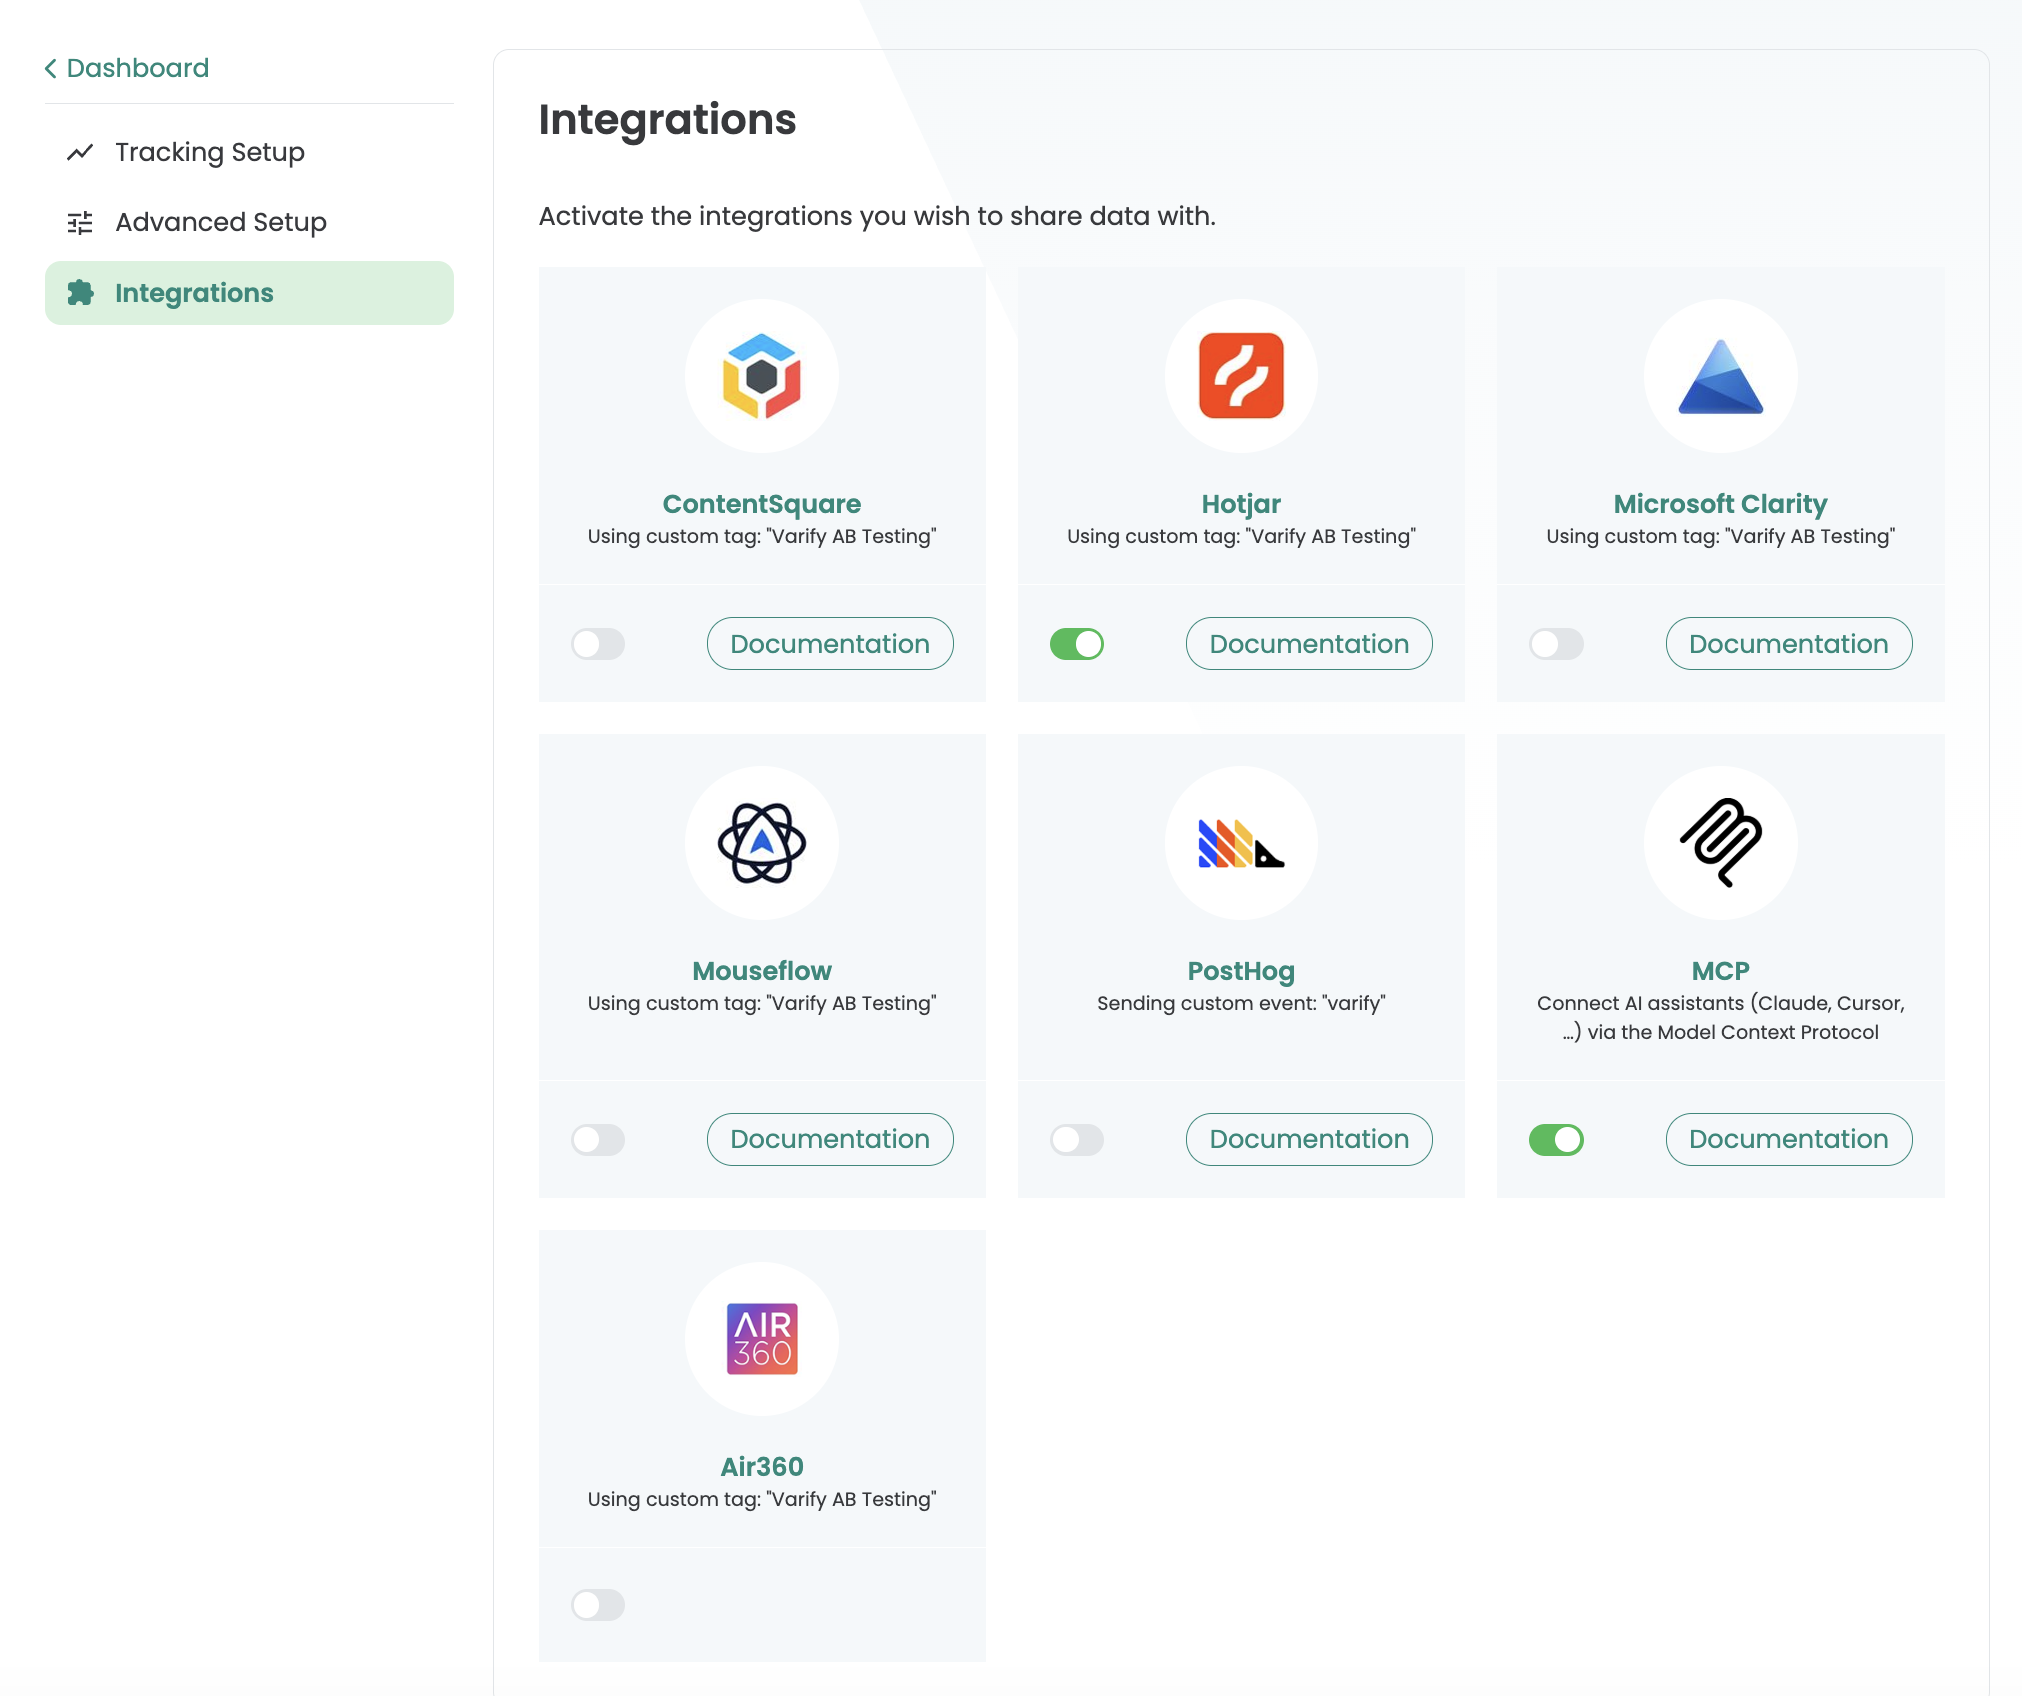
To use an integration, go to "Integrations" in the tracking setup and activate the tool you are using.
Varify Model Context Protocol (MCP)
With the new Varify MCP, you can integrate complete experiment management directly. For example:
- Create new experiments, including variations; edit, duplicate, pause, or archive existing ones
- Adjust Traffic Allocation Among Variants
- Define page and audience targeting (e.g., by URL, device, browser, or UTM parameters)
- Turn tracking on or off for each experiment as needed
- If GA4 is connected: View results directly—including daily reports and revenue analyses based on GA4 data
- As an agency: Overview of all client accounts under management
The MCP uses the same API that can also be used for custom integrations—the complete reference is available here: https://developers.varify.io/
Here's how to activate MCP in your account
Customer Account: Go to Integrations and enable the Varify MCP.
Installation at Claude Chat
Here's how to add the Varify MCP to Claude:
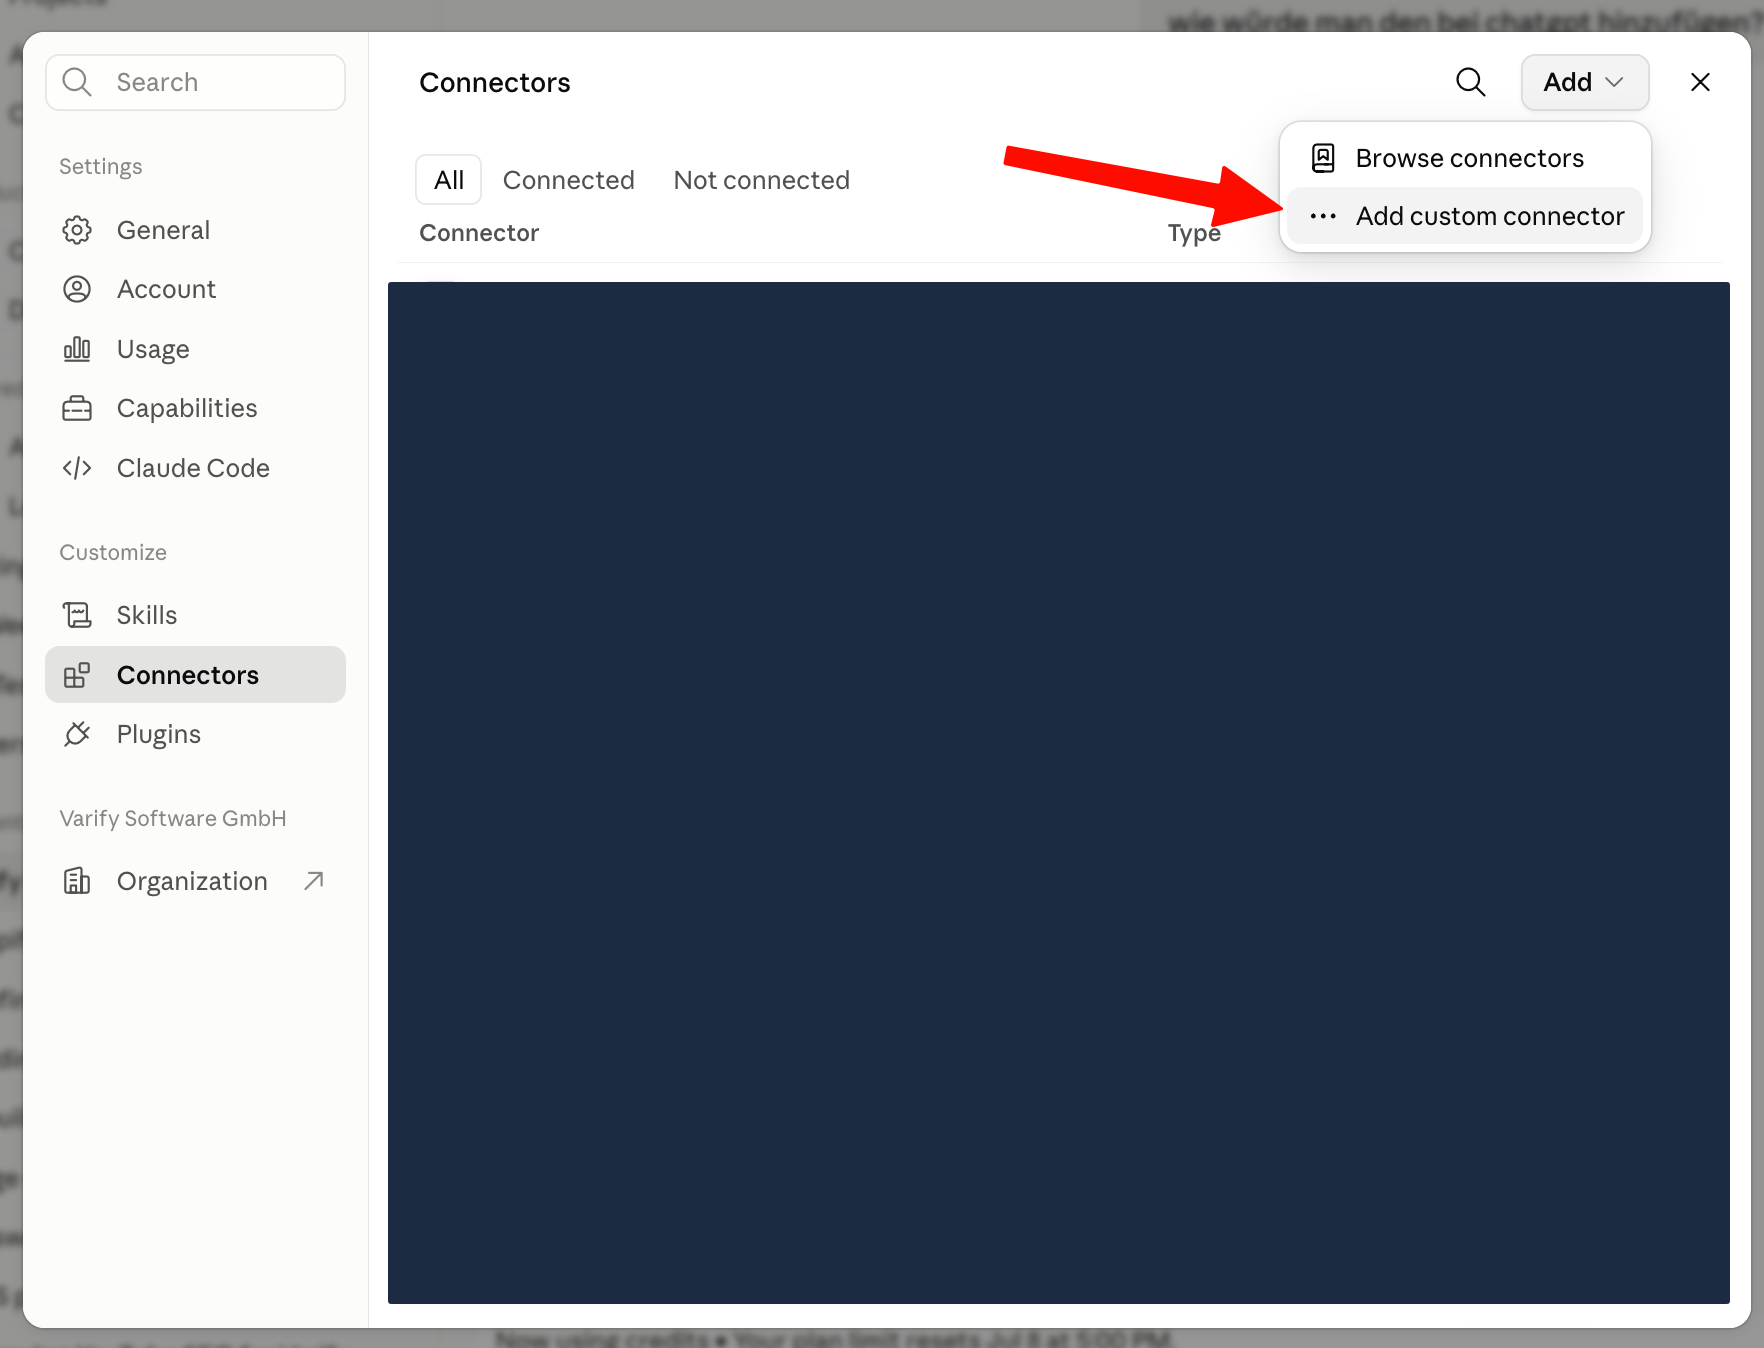
- Settings → Connectors
- „+“ click → „Add custom connector“
- Enter URL:
https://app.varify.io/mcp - „Add“ click
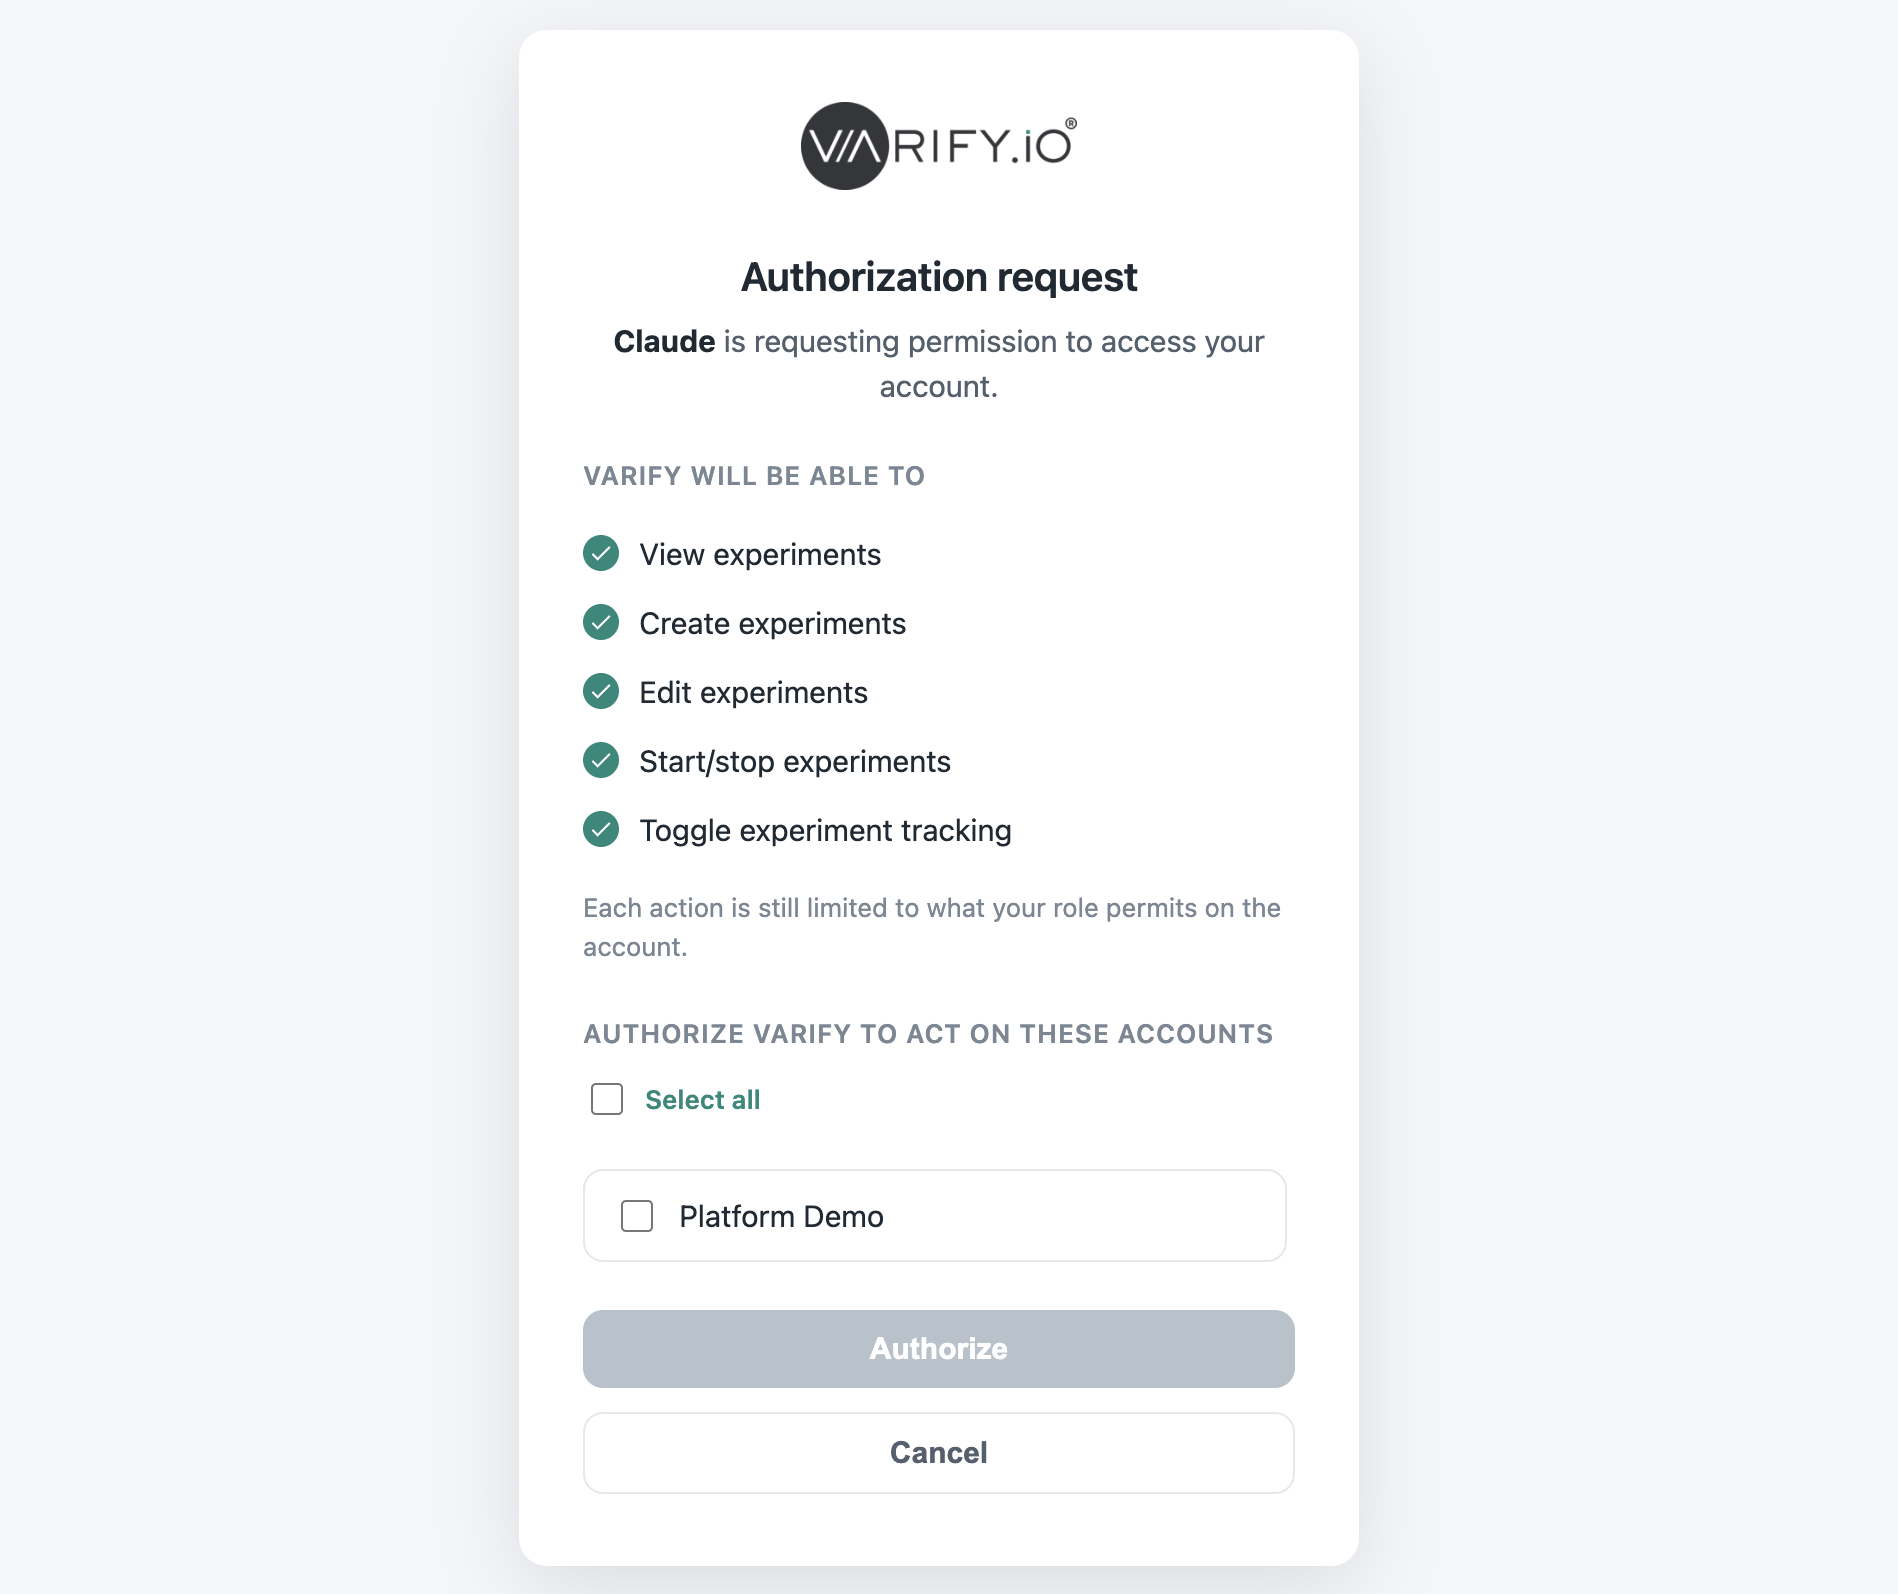
Then click on Connect. You will then be redirected to app.varify.io, where you'll need to log in. Next, grant Claude permission to access Varify. Once that's done, the Varify MCP will be connected, and you can control and manage your experiments directly through Claude.
Installation in Claude Code
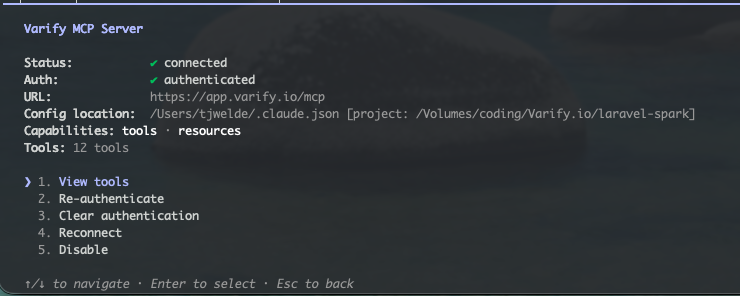
Here's how to install the MCP via the console:
claude mcp add --transport http varify https://app.varify.io/mcp
Installation in ChatGPT
Here's how it works with ChatGPT—it's a little different from Claude, since you first have to Developer Mode must enable:
- Settings → Apps & Connectors → Advanced Settings
- Developer Mode turn on
- In the Connectors view on „Create“ (or create a new connector)
- Enter the server URL:
https://app.varify.io/mcp - Enter a name/description and save it
MS Clarity
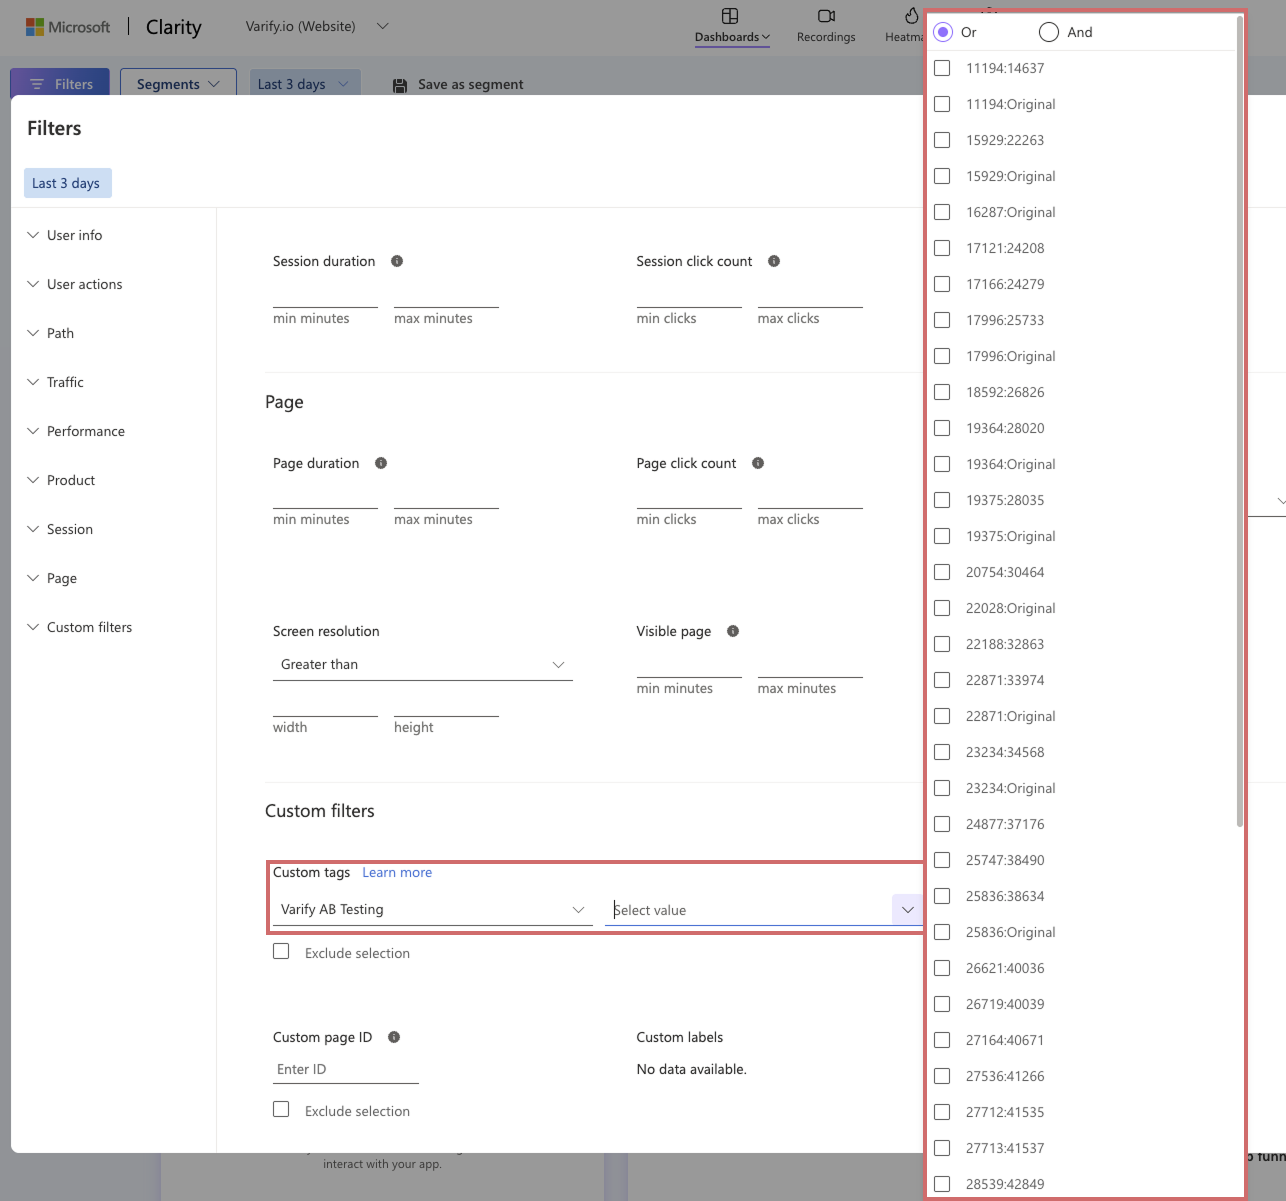
To evaluate the variants of your experiment - for example, to view recordings in MS Clarity for a specific experiment - follow these steps:
- Click on the filter button in MS Clarity.
- Scroll to the Custom filters section.
- Select the Varify AB Testing category.
- You will find all experiment and variant IDs under Value.
- Select the variants for which you want to create the segment.
Hotjar
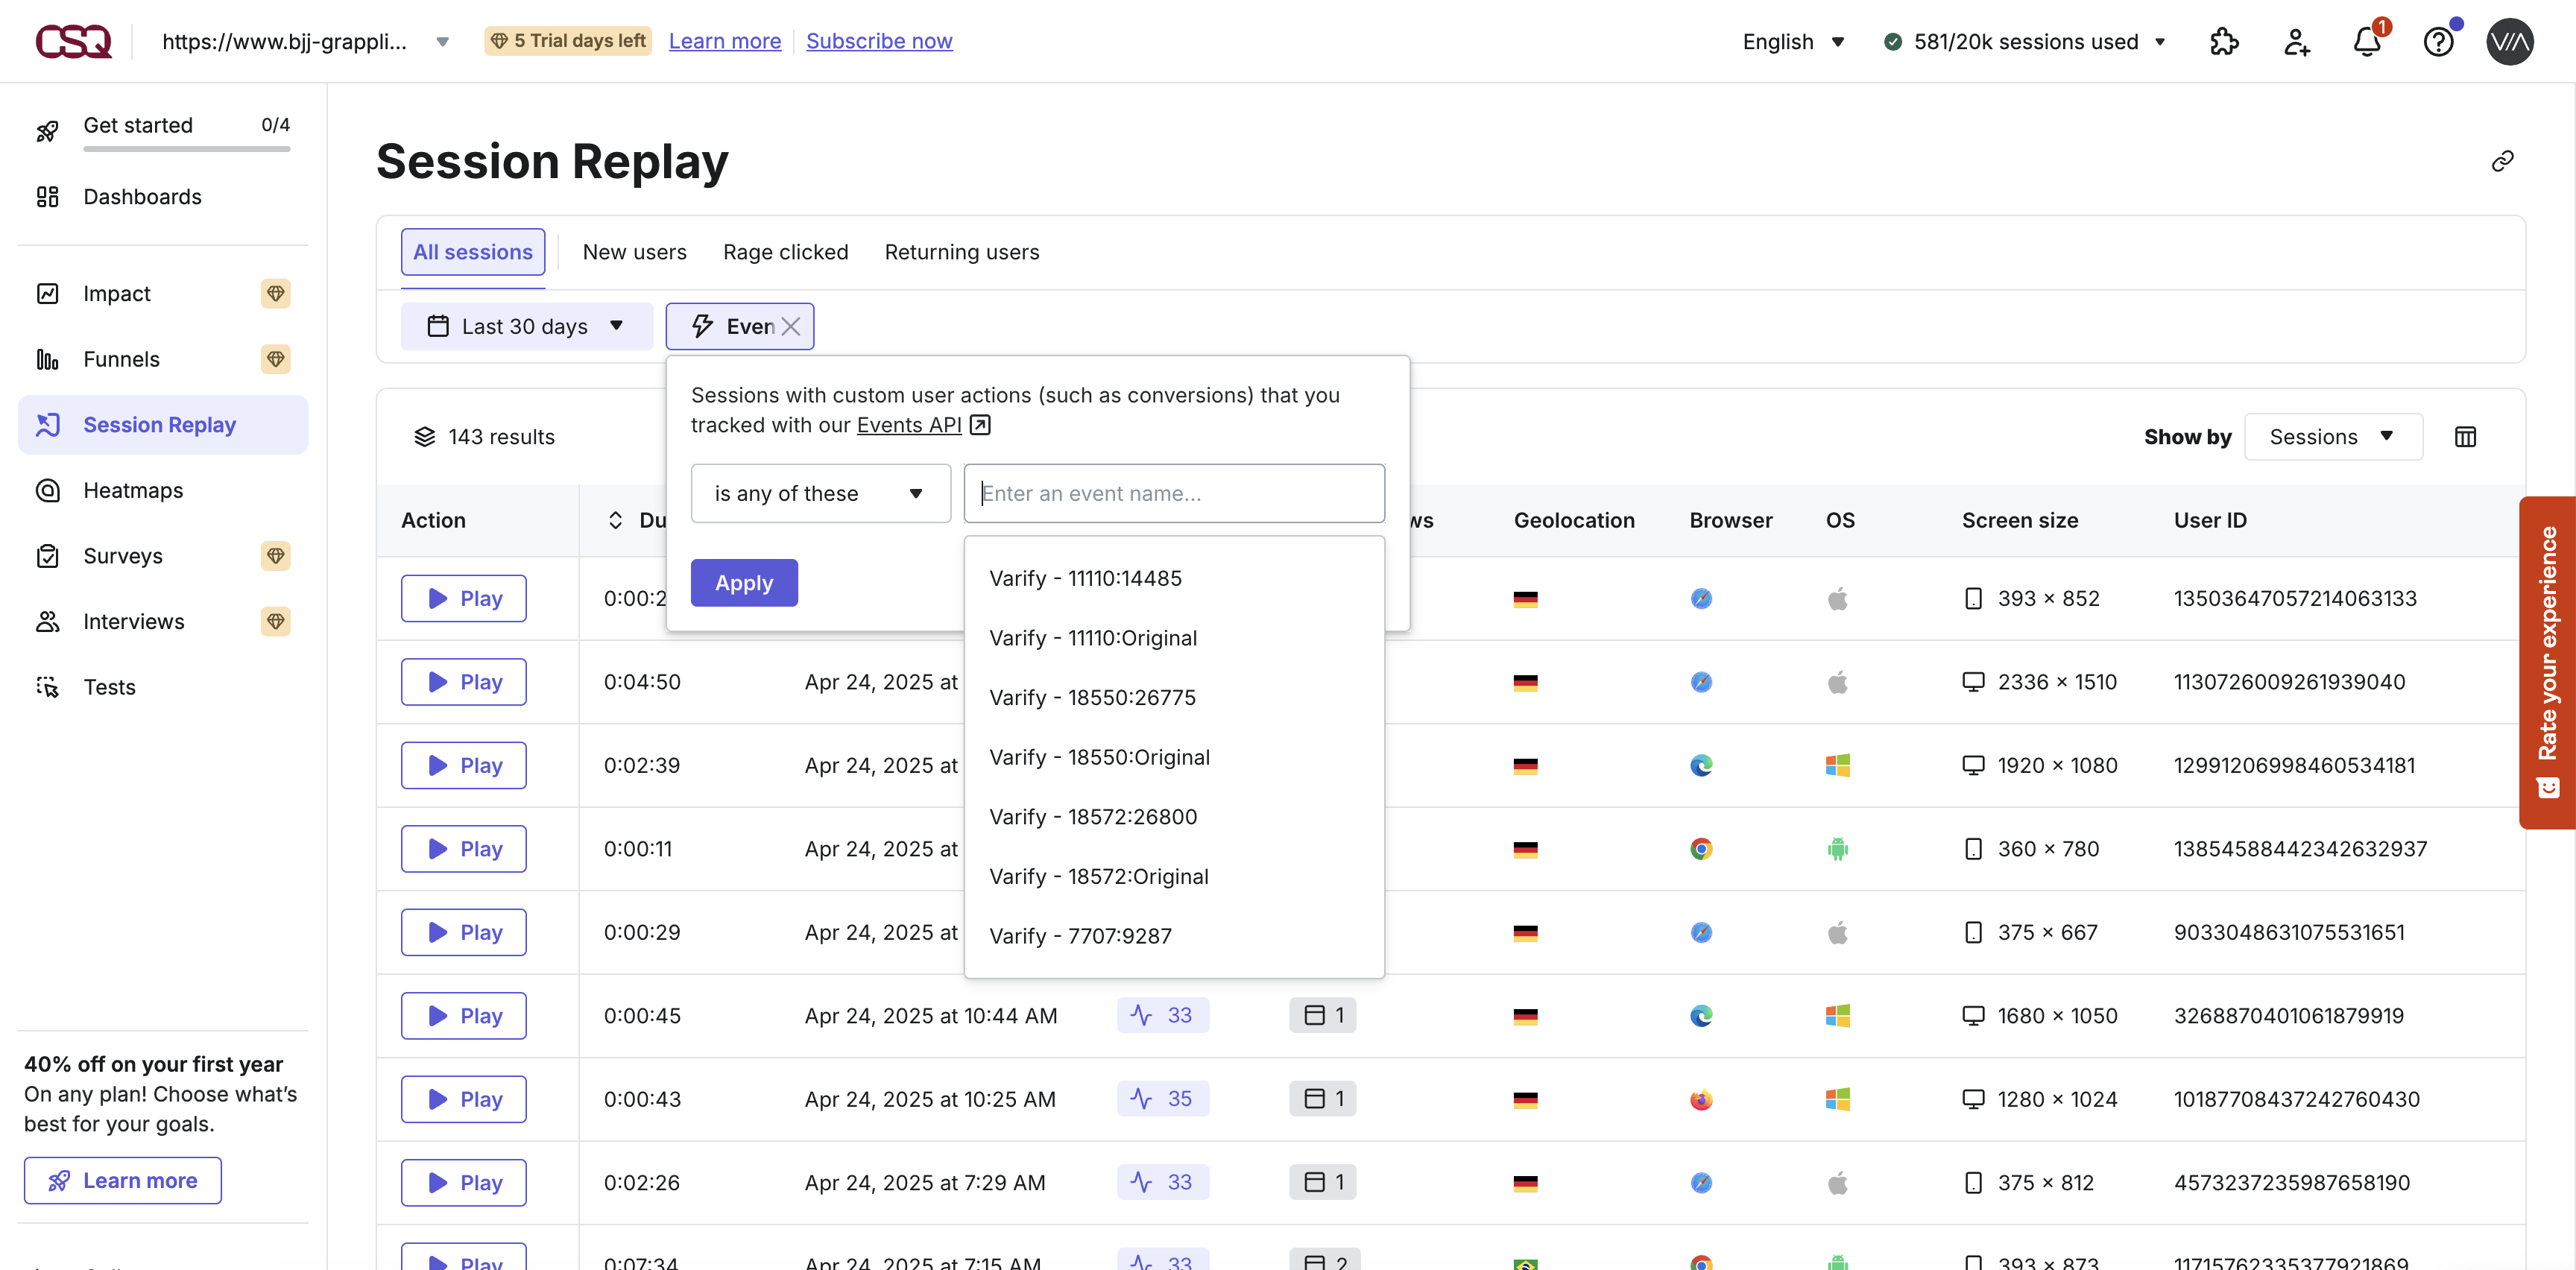
To evaluate the variants of your experiment - for example, to view recordings in Hotjar for a specific experiment - follow these steps:
- Open the corresponding evaluation that you want to carry out (e.g. Session Replay)
- Click „Add Filter“ and select „Event“
- Select the corresponding Experiment ID: Variant ID.
Mouseflow
To evaluate the variants of your experiment - for example, to view recordings in Mouseflow for a specific experiment - follow these steps:
- Open the corresponding evaluation that you want to carry out (e.g. Session Replay)
- Click „Add filters“ and select „Variable“
- Select the corresponding Experiment ID: Variant ID.
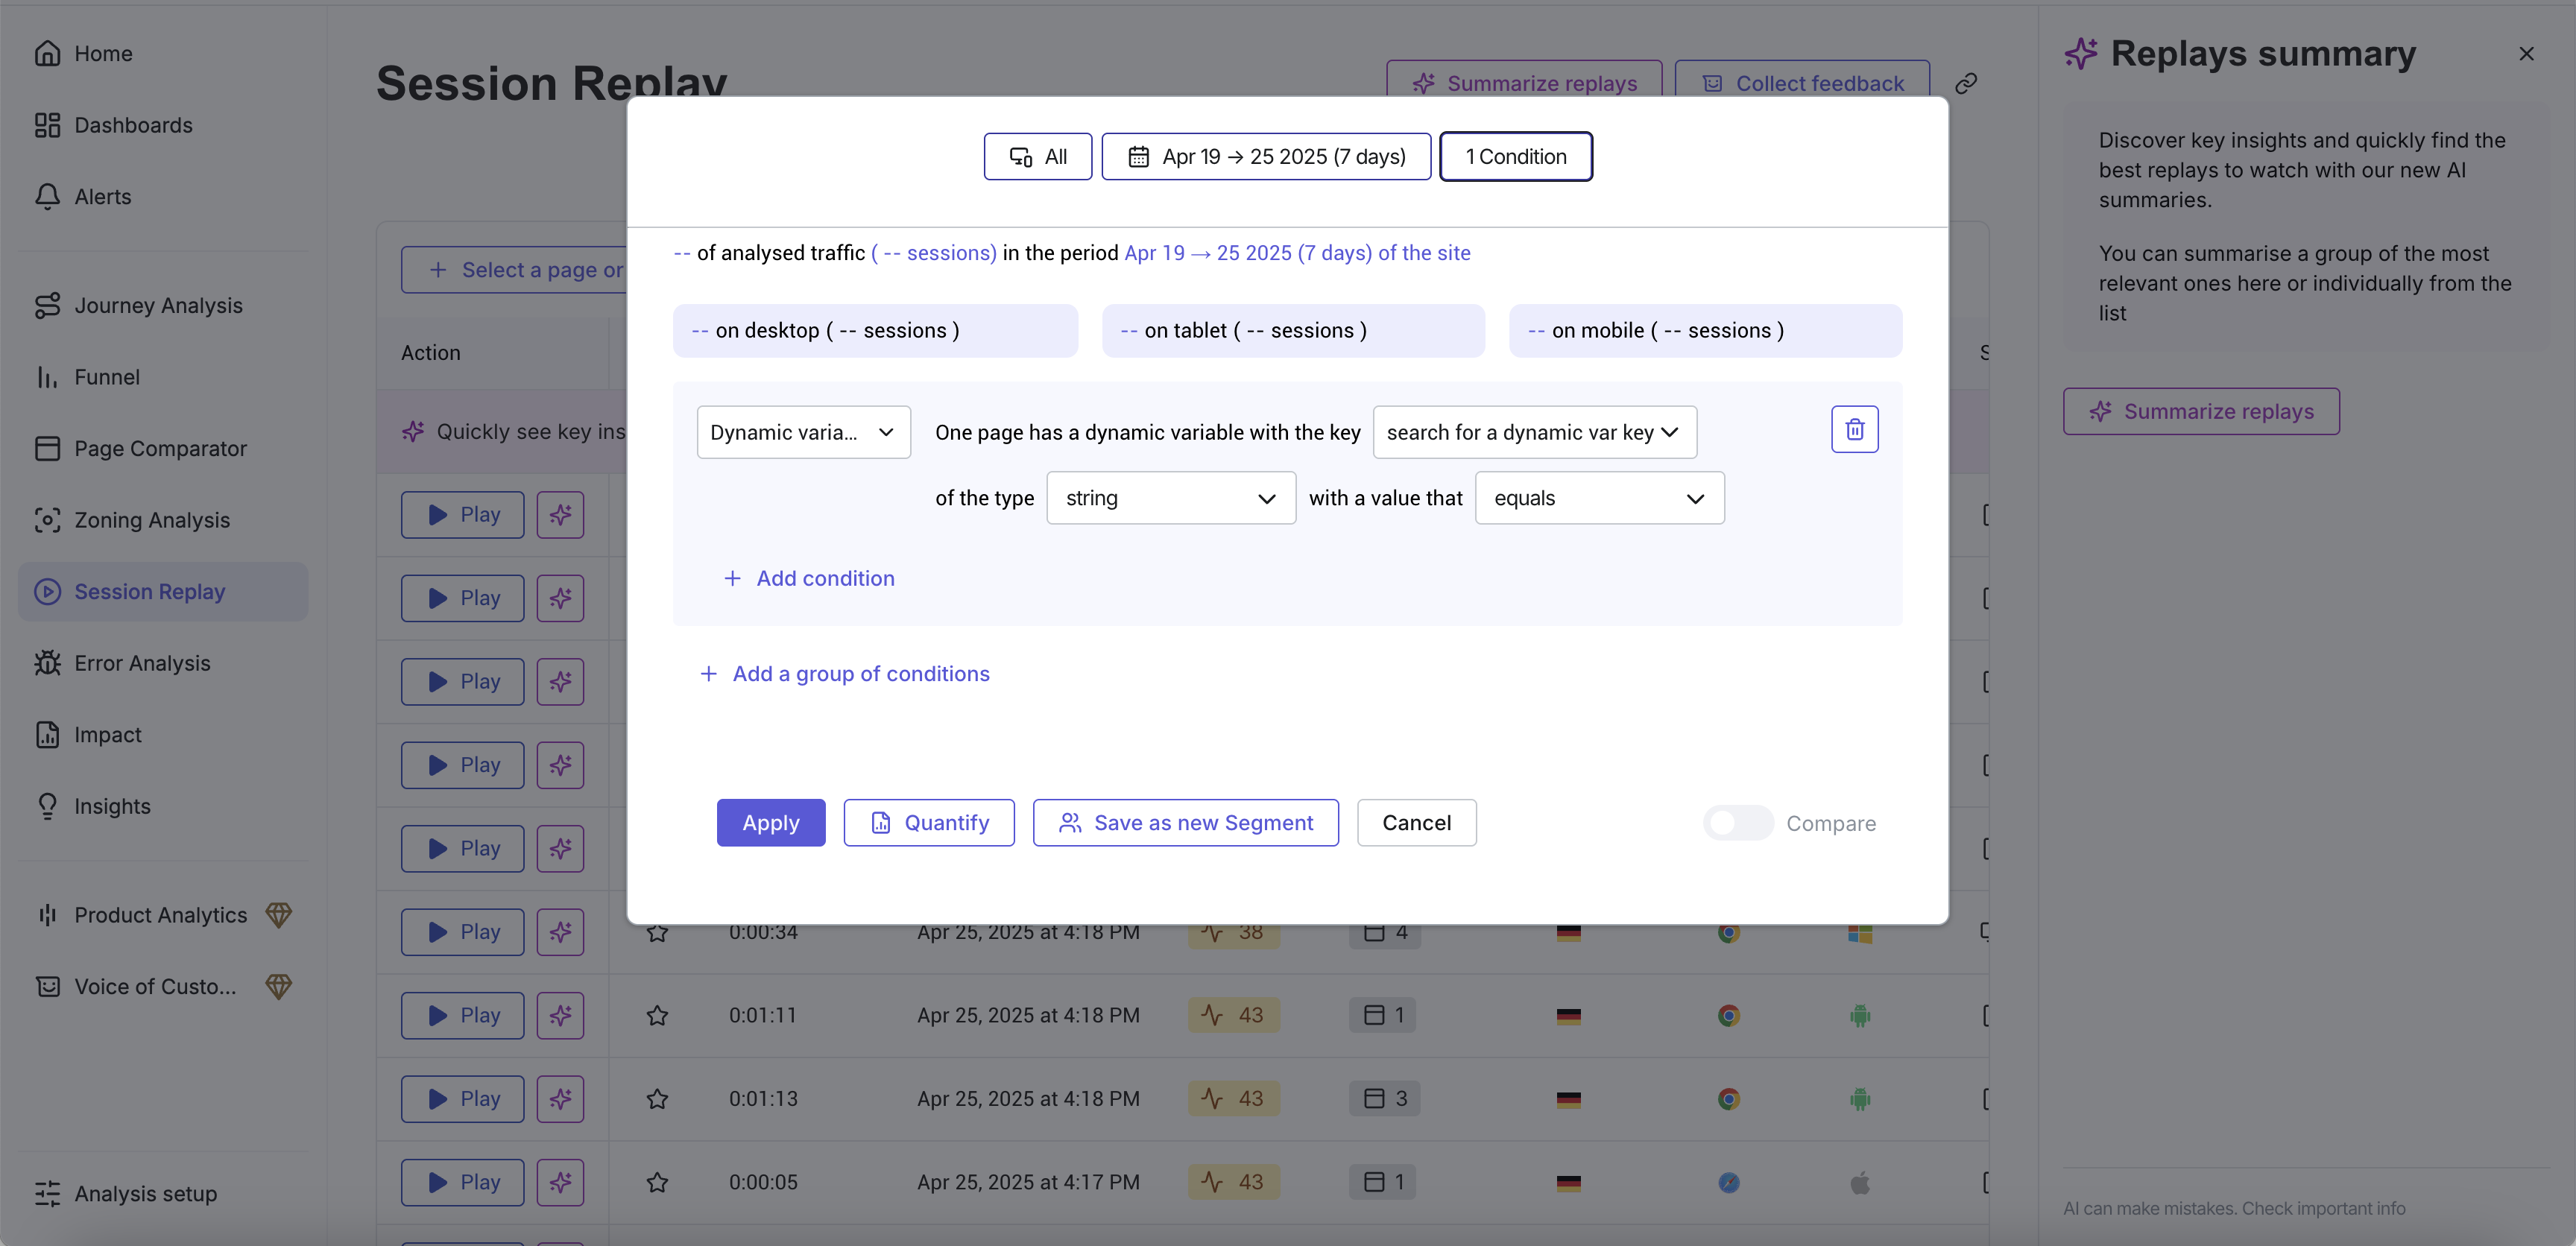
Contentsquare
To evaluate the variants of your experiment - for example, to view recordings in Contentsquare for a specific experiment - follow these steps:
- Open the corresponding evaluation that you want to carry out (e.g. Session Replay)
- Click „All Users“ and select „Dynamic variable“
- Then, under „search for a dynamic var key,“ select the appropriate experiment variant
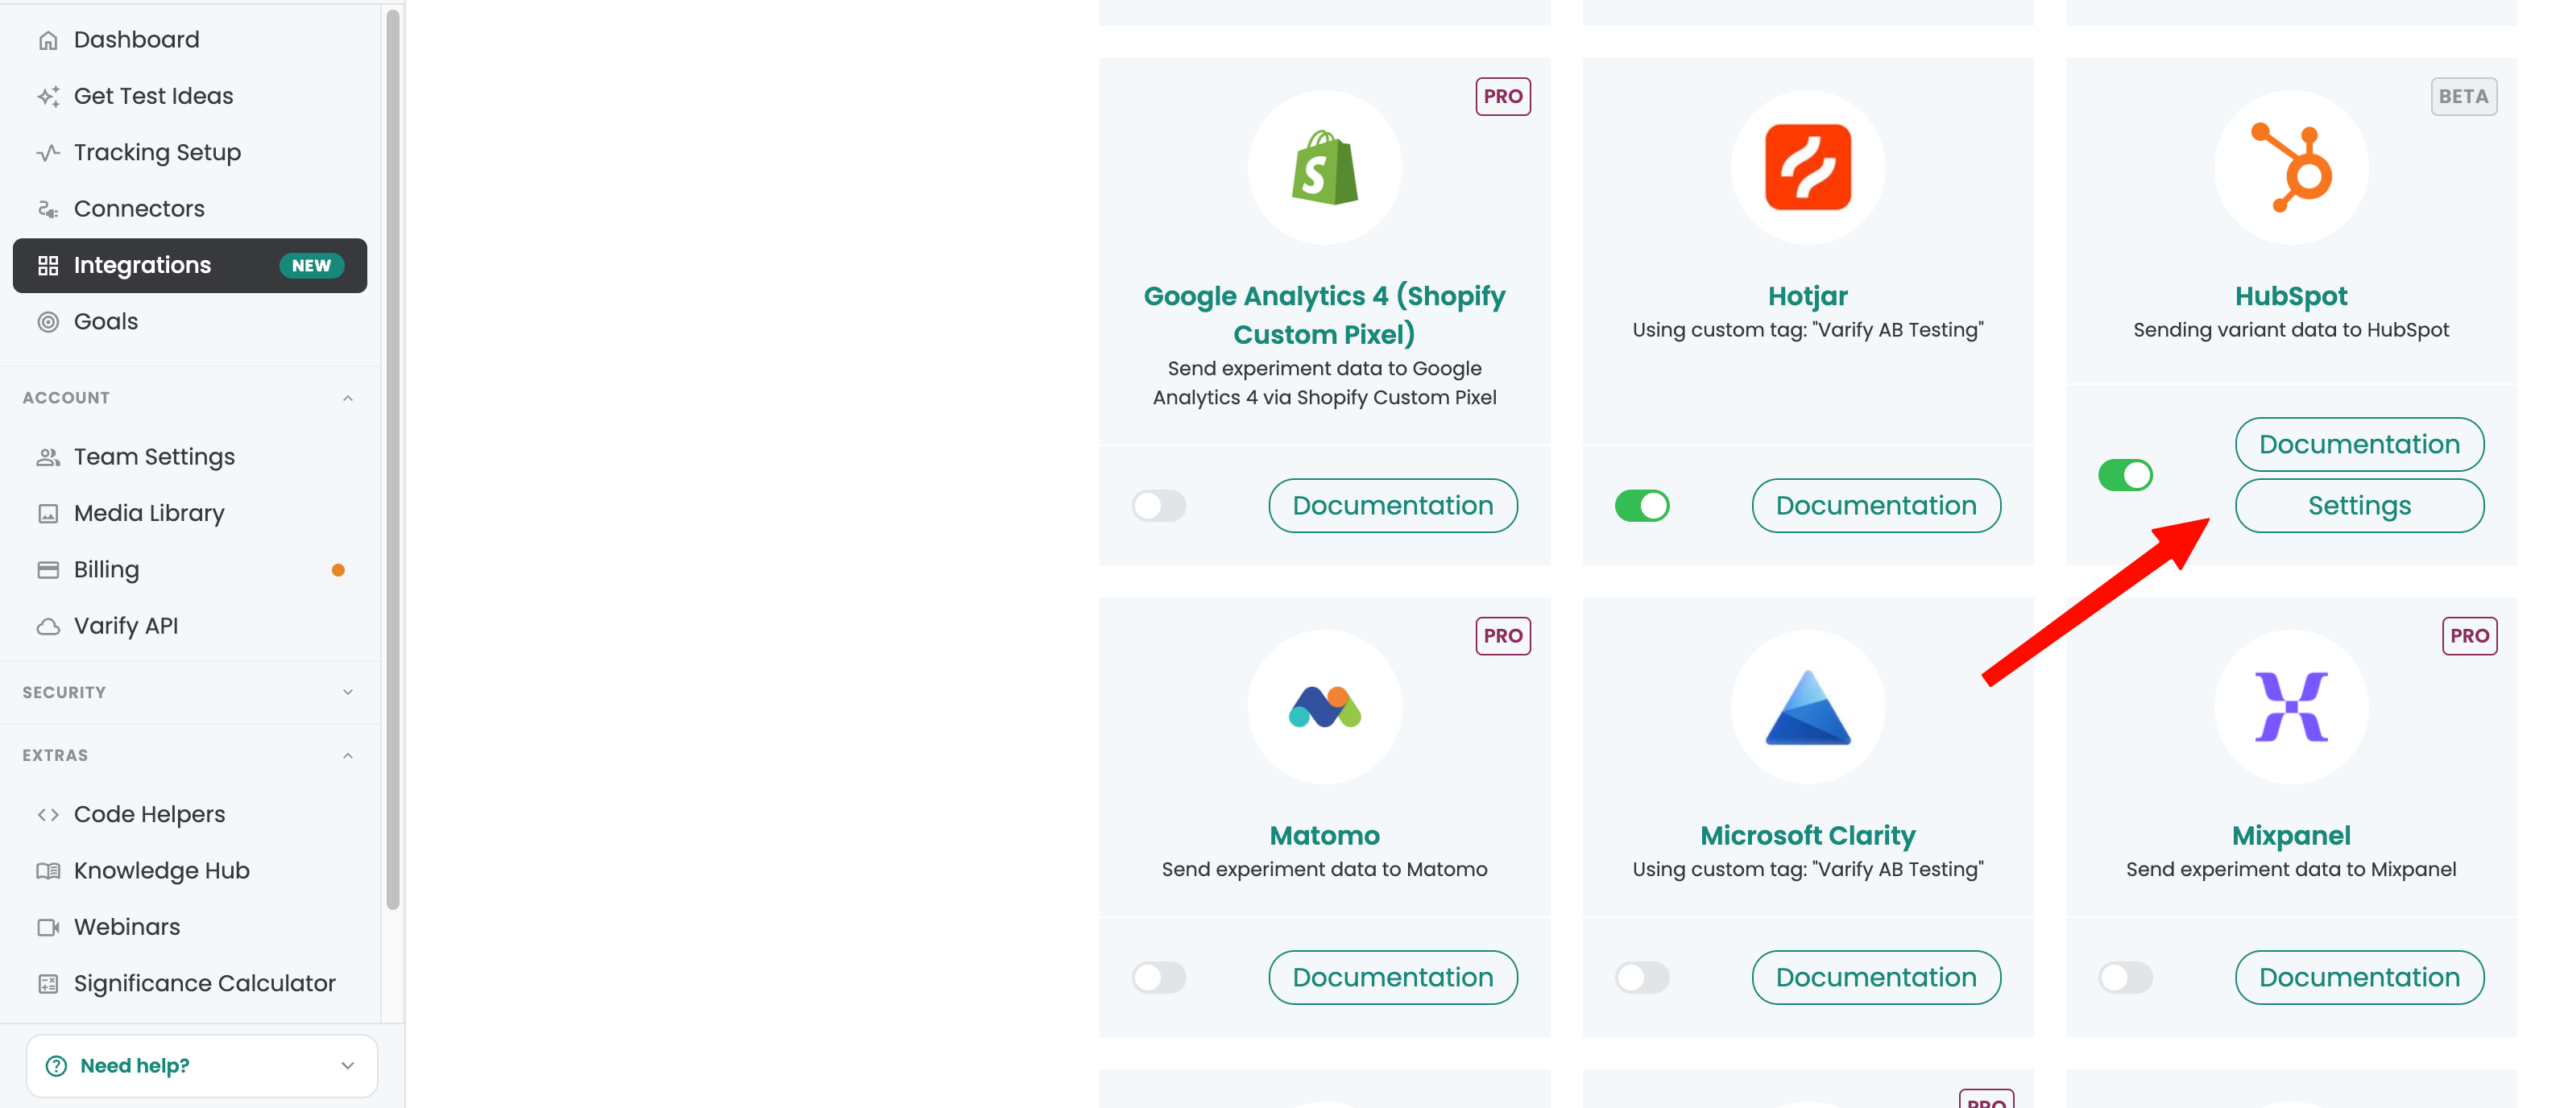
HubSpot
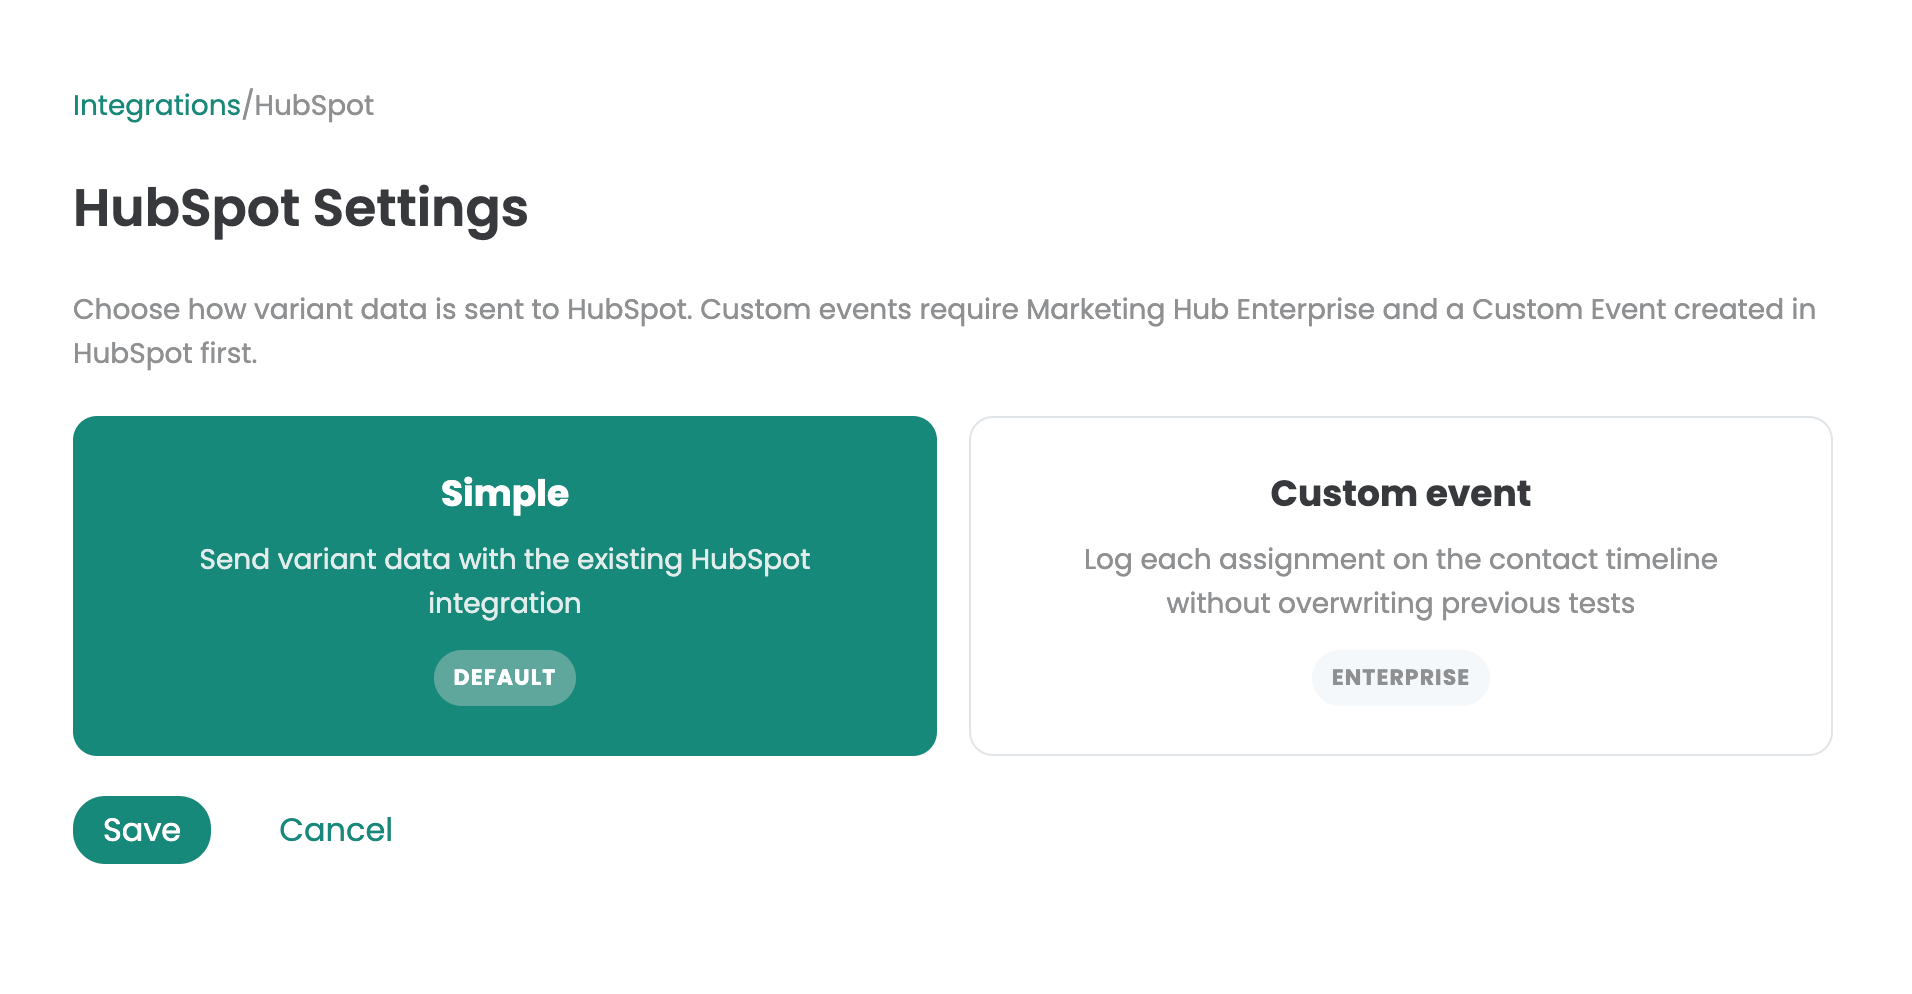
Automatically send your experiment data to HubSpot. To enable the integration, first click on Settings.
Select an integration method
Specify how Varify should send the variant data to HubSpot:
- Simple (Default) – sends the variant data via the existing HubSpot integration
- Custom Event – logs each assignment individually on the contact timeline without overwriting previous tests. To do this, you'll need a HubSpot Enterprise Subscription as well as a custom event previously created in HubSpot.
Which method is right for you?
- If it's enough for you to know the current variant for each contact, select Simple – Sufficient for most cases; no additional configuration is needed.
- If you want to review a contact's entire test history, select Custom Event. Set up the event in HubSpot beforehand under Data Management → Event Management → Create an Event → Create a Custom Event .